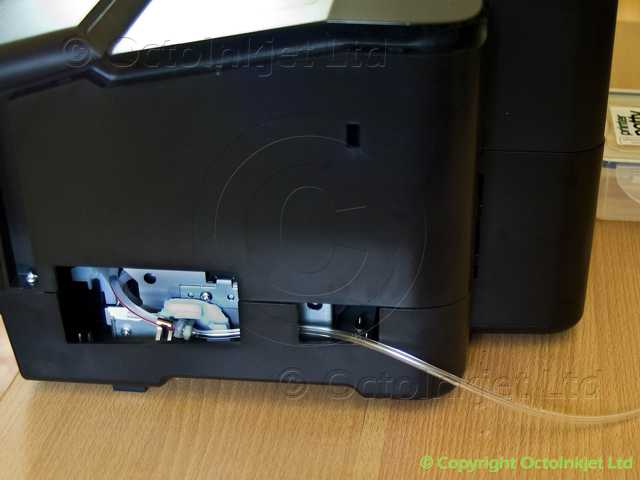
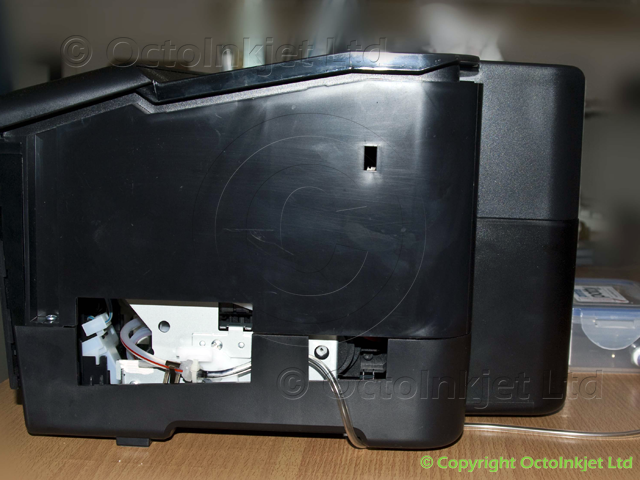
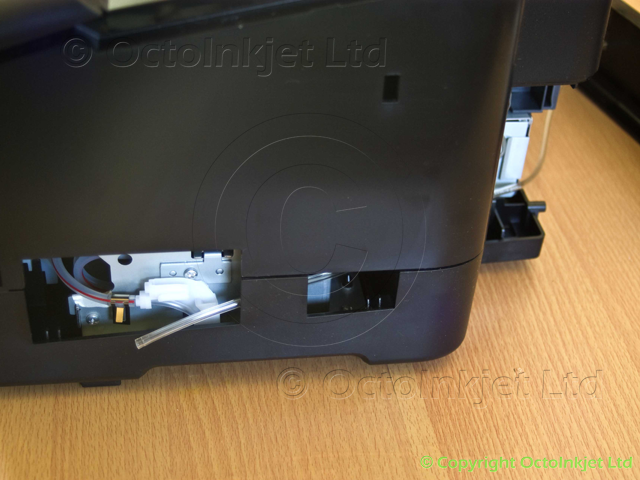
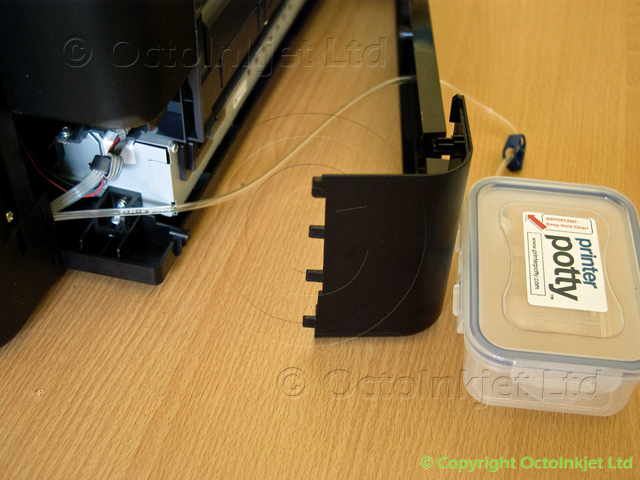
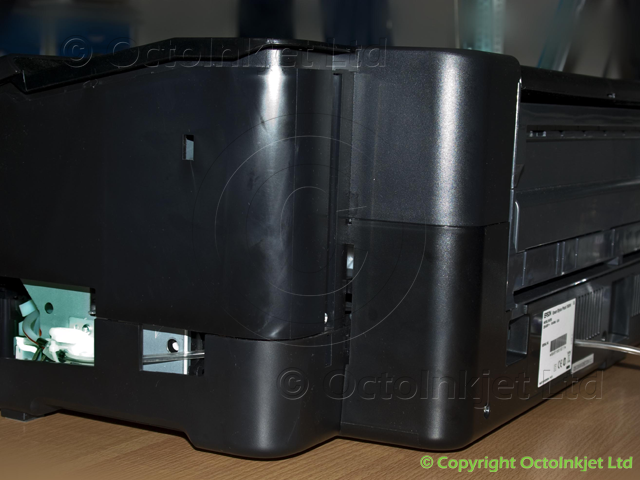
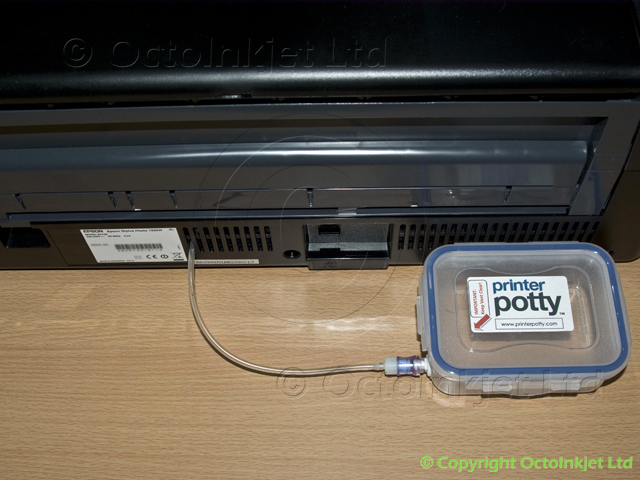
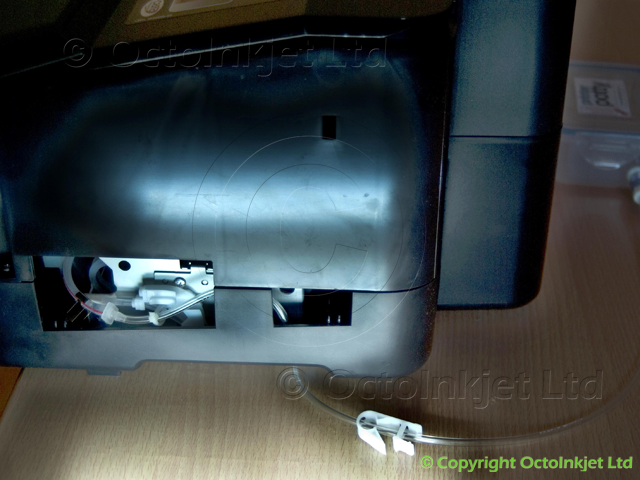
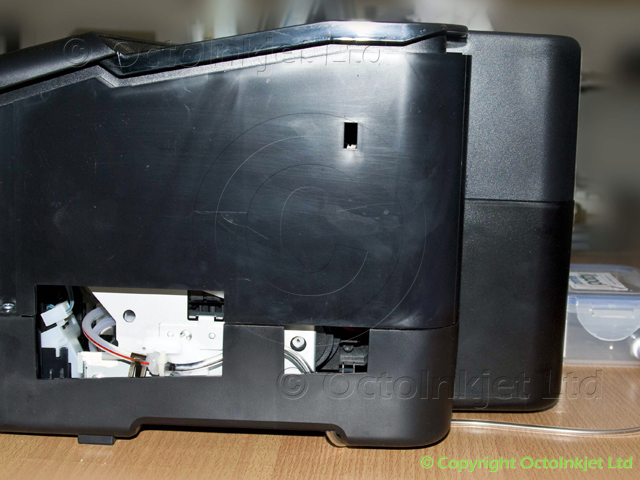
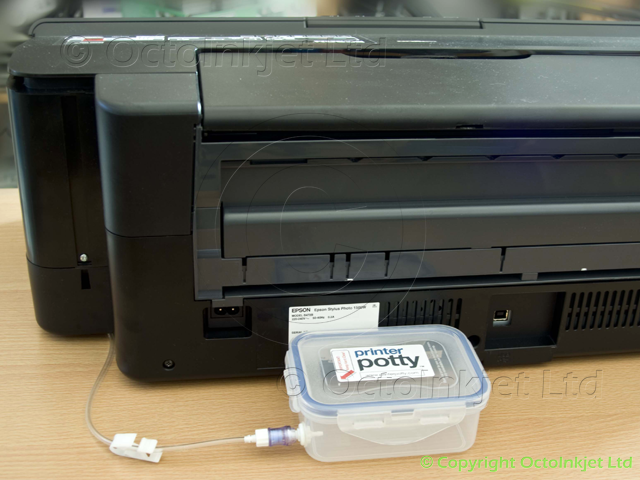
With the introduction of the Solo Max waste kit, this guide has been updated to version 2.0 and is also hosted on the Printer Potty site.
Note: The original guide (below) includes a couple of variations that are no longer documented in the new guide so it is still a useful reference if you’re looking at alternative installation approaches.
Note: This guide also covers the following Epson printer models:
Artisan 1430
Photo 1500
…and many of the panel release procedures are mirrored in the R1900, R2000, R2880, B1100, Workforce 1100, and T1100 models.
Note: This guide is copyright of OctoInkjet Ltd.
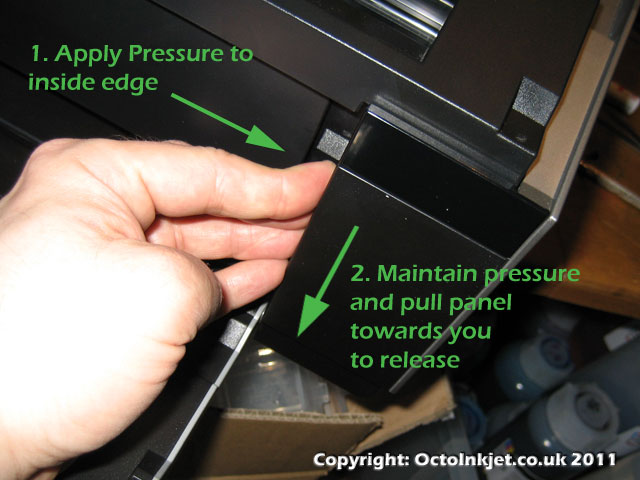
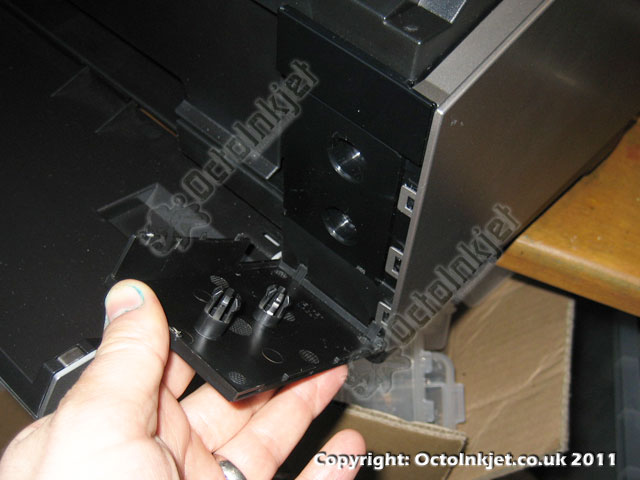
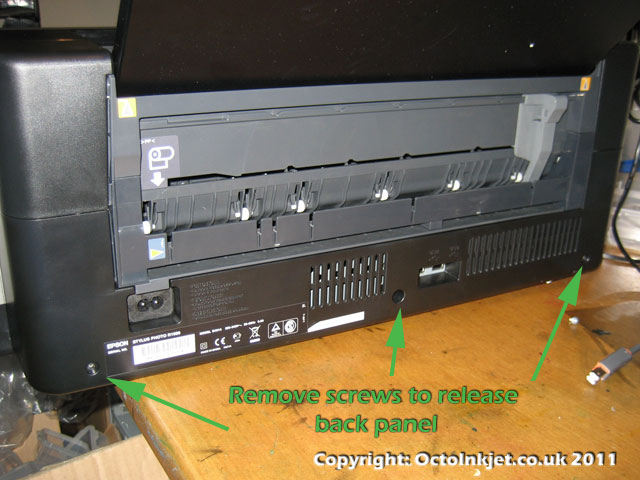
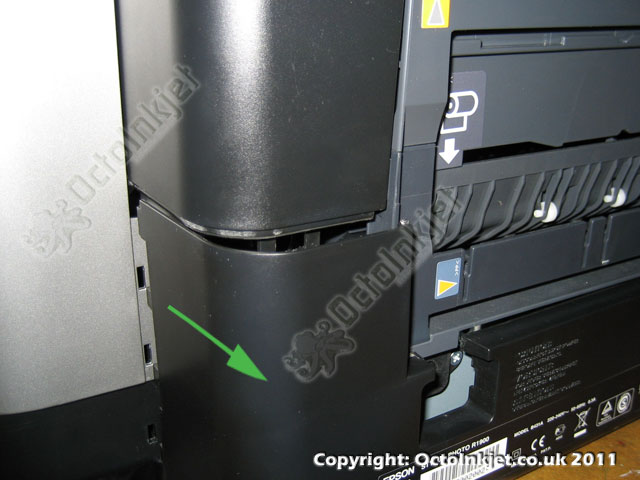
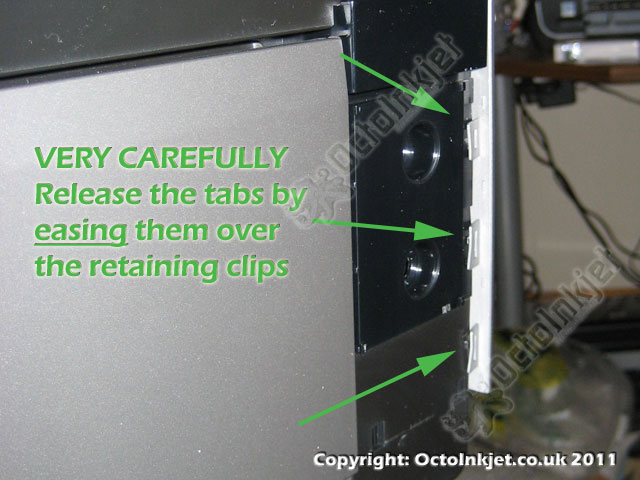
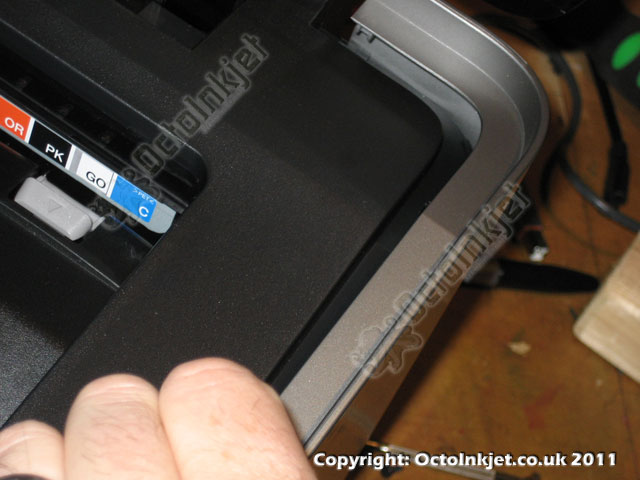
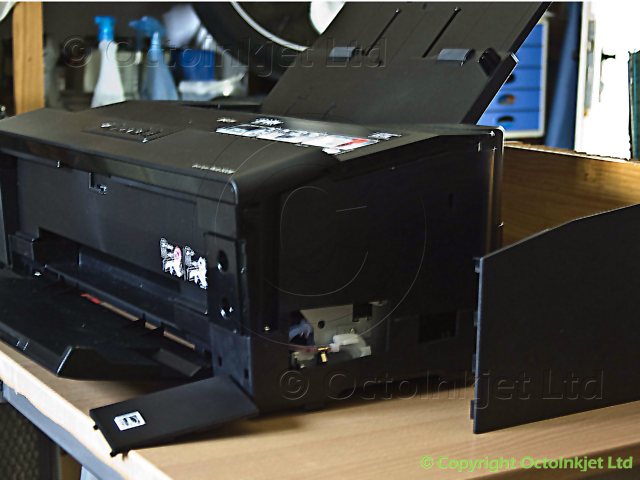
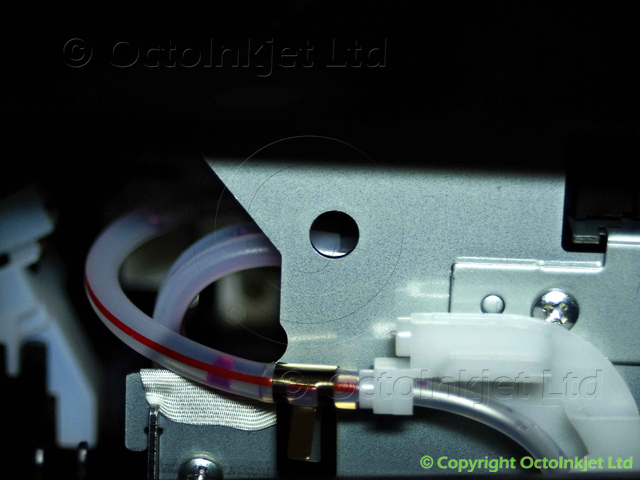
Accessing the Waste Tube
Fitting the Waste Tube extension
This section is split into two as there are two different approaches to extending the waste tube out of your printer.
Option #1 – No Drilling
A non-destructive approach which routes the tube internally to exit through a vent grill in the rear of the printer.
Option #2 – Drill/Modify case
An approach for those who prefer greater flexibility on waste tank placement and not concerned about modifying the printer case (ie: drilling holes in it)
Option #1 – No Drilling Approaches
Option #2 – Drill/Modify Case
Resetting the Waste Ink Counter
Both the Photo 1500W and Artisan 1430 require the WICReset or iWIC (for MacOS) utility(key purchase required).
If needed you can get the reset key and kit as a single bundle (Solo Max bundle) or just the Solo Max kit on its own.
Note: The most up to date information on reset utilities will be available via the QuickFind tool.

