Printer Potty installation guide for the Epson Stylus Photo R200, R220 using the Solo+ waste ink kit.

Installation Process

R200 / R220 Printer Potty installation
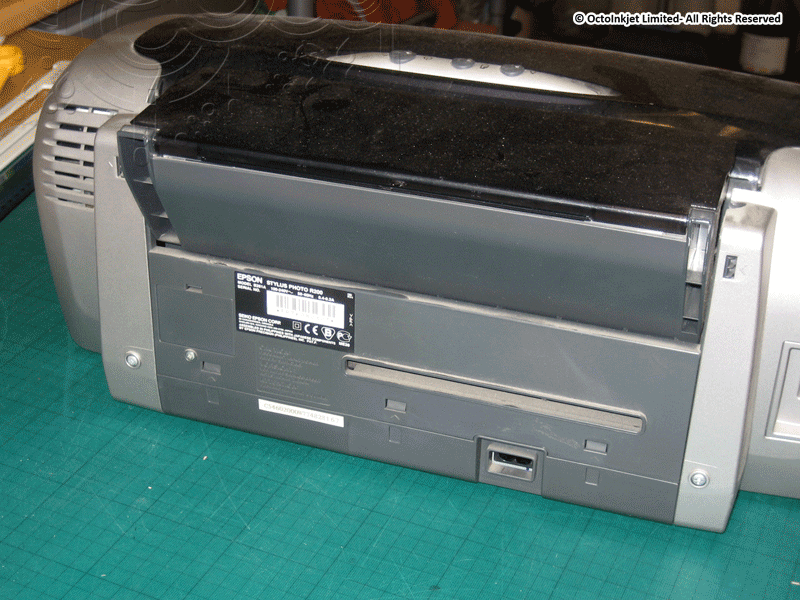
Back of printer
Back of printer
Back of printer
Unscrew access hatch screw
Screw removed
Screw removed
Screw removed
Release catch at top of hatch
Ease hatch out and up
Remove hatch
Remove hatch
Remove hatch
Cut hole in access hatch (as indicated)
Hatch removed and access available to waste tube
Remove small pad covering waste tube
Pad can be thrown away
Waste tube location indicated
Hook waste tube up and out to free open end

Optional: Cut tube size down to make cleaner patch to exit

Hook waste tube up and out to free open end
Attach extension tube part (from Printer Potty)
Replace modified access hatch (allowing tube out)

IMPORTANT: Make sure the tube is not kinked or folded behind the hatch before closing

Replace modified access hatch (allowing tube out)
Finished installation (with Printer Potty connected)

Leave a Reply

This site uses Akismet to reduce spam. Learn how your comment data is processed.