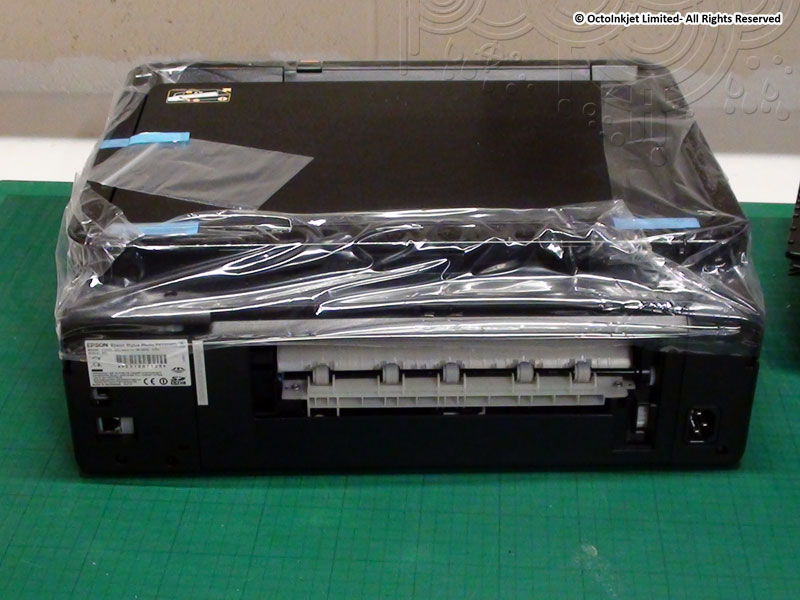
Printer Potty installation guide for the Epson Stylus Photo PX730WD (and equivalent models)
External Waste Ink Kit: Installation Process
We still have a legacy slideshow version of the instructions shown below and all Solo/Duo-X kits still include printed documentation that shows the same process too.
Note: If you have received a kit with two identical sized connectors (Steps 13-14) please remove and reverse the connector (on the blue clamp tube) so that larger end goes into the Printer Potty tube. This will allow you to use the thinner/smaller end to connect to the overflow tube.
- Installation Process for Duo-X kit
Compatible with PX700W – Artisan 837
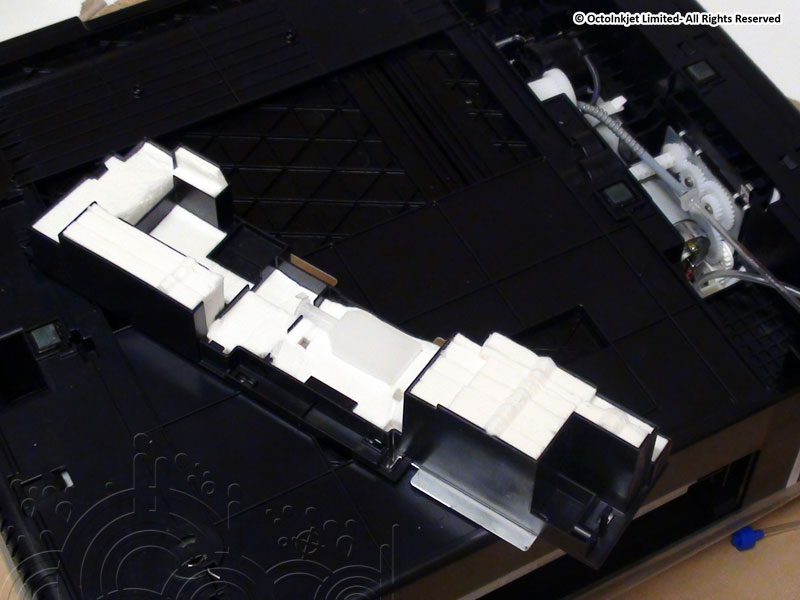
- Crosshead/Phillips screw holding waste pad holder in place
- Screw holes and release catch for waste pad holder
- Use Phillips screwdriver to release screw indicated
- Use flat head screwdriver to release catch (indicated) & expand screw hole
Use drill or similar to expand screwhole to 4.5mm diameter
- Lift pad holder as indicated
- Lift pad holder up and out
- The main waste tube is connected to the pad via a duct
This usually pops out as the pad holder is removed…
- There are two waste tubes. Primary (1) and Overflow (2)
The tubes are marked for consistency in all slides so you can see which tube fits which connector.
- Overflow tube (2) as closeup
- Tube 2 stabilised using forceps
The tube has very little slack (roughly 1.5cm). Avoid pulling too hard!
- Duo-X tube part (Printer Potty)
- Tube connectors… Connector 1 (primary) is larger than 2 (overflow)
- Insert smaller connector (2) into overflow waste tube
Ensure the connector is pushed all the way in. Stabilising the tube is necessary and forceps do help with this.
- Install larger (1) connector into main waste tube
- Ensure the connector is pushed all the way in
- Disconnect the main tube from the Y-fitting and thread through enlarged screw hole
- Reconnect main/external tube to Y-fitting
- The Y-piece also acts as a strain relief
It stops the internal tubing being pulled off and thus avoids breaking the printer.
- Waste tube installation complete
Waste Pad Holder Modification and Reinstallation (Optional)
Reinstalling the waste pad holder (removed during tube installation) is not required but may be preferred.
- Modification to allow the waste pad tray to be replaced with Printer Potty tube installed
This instruction details the necessary modifications required to allow the waste pad holder to be reinstalled after the Printer Potty tube part has been installed.
The process is entirely optional as the tray does not need to be reinstalled.
The process also relies on the use of sharp blades (saw/knife) and other tools to complete so extreme care should be taken. This process is undertaken entirely at the end users own risk.
- Intended tube path
The path is indicated as a dashed line where the current pad holder blocks it and need to be modified.
- Remove waste pads indicated
These pads can be disposed of or stored (if preferred)
- Cut panel as indicated
A sharp craft knife is shown but a hacksaw may be preferable as a safer tool to make these cuts.
- Score & break off panel
Use a sharp craft knife to score the plastic as shown, then carefully push the plastic over until it snaps off.
- Panel part removed
Once removed the piece of cut plastic/panel can be disposed of.
- Cut panel as indicated
- Score & break off panel
As before, score the plastic as indicated and then push over to snap off.
- Dispose of waste
- Dispose of waste
The path through the holder plastic wall panels is now clear.
- Remove screw hole block
The waste tube will exit through the existing screw hole. So, the block, that the screw normally rotates into, needs to be removed as shown.
A hacksaw is the only tool that will do this job.
- Screw hole block removed
The block can be disposed of once removed.
Note: The waste pad holder still has the plastic retaining clip to stop it falling back out.
- Modification complete – Cleared tube pathway indicated
That’s it… Now you just need to reinstall the waste pad holder.
- Optional: Remove metal plate
The metal plate is not included on later models but regardless it is not needed for anything and can be removed.
- Optional: Slide off and dispose of
The metal plate is secured by lugs that the plate slides off horizontally along it’s length, allowing easy removal if desired.
Remove and dispose of as required.
- Insert tray lugs into front end of base
Reverse the tray extraction process by inserting the retaining lugs into the “front” end of the waste pad cavity.
- Check tube path is unobstructed and lower pad holder
Ensure the tube part is in the correct position as you gently pivot and carefully lower the holder into the cavity.
- Lowering pad (Close up)
- Maneuver as required to allow pad holder into position
Taking care not to crimp or catch the tubing, some adjustment may be required to get the pad holder into position and finish reinstalling it.
- Pad holder replaced
- Completed installation
Once reinstalled the pad holder should act as a fail safe in case any of the connectors were incorrectly installed and pop off.
- Full installation complete
After initial installation, keep an eye on the waste ink generated and reaching the Printer Potty tank.
If no waste has appeared in the tank after more than 3 printhead cleaning routines, check the installation has not been compromised (eg: compressed tubing, popped connectors, etc…)
Otherwise you’re good to go.
Happy Printing!
These guides cover a wide range of models so this is the full list in case you need to check compatibility/relevance:
- Artisan 700, Artisan 710, Artisan 725, Artisan 730
- Artisan 800, Artisan 810,
- Artisan 830, Artisan 835, Artisan 837
- PX700W, PX710W, PX720WD, PX730WD
- PX800FW, PX810FW, PX820FWD, PX830FWD
- TX700W, TX710W, TX720WD
- TX800FW, TX810FW, TX820FWD