Printer Potty installation guide for the Epson Stylus Photo 1500W and Artisan 1430 using the SoloMax waste ink kit.
Installation Process
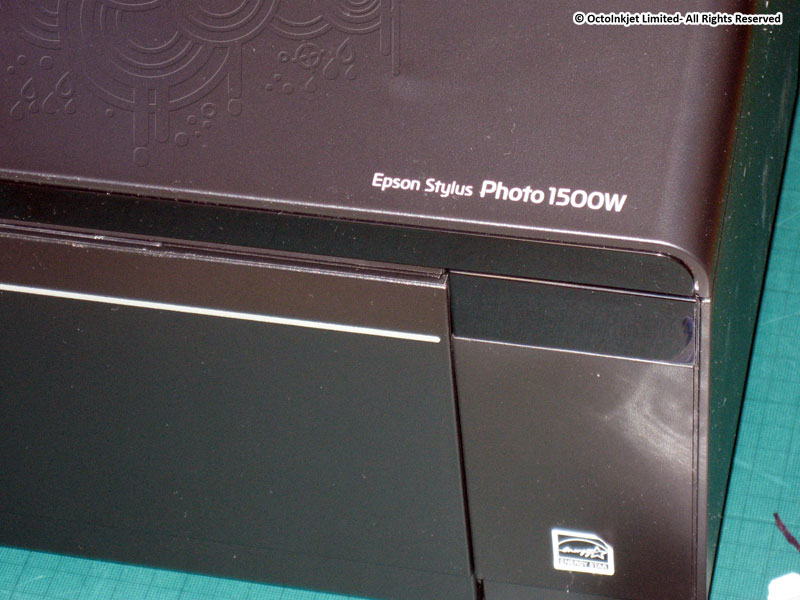
- Epson Photo 1500W (Artisan 1430) Printer Potty installation
- Remove screws in rear panel
- Release rear panel
- Remove front panel
Apply pressure to left of panel and lever top edge forward
- Front panel removed
Note: Shows anchor tabs at bottom of panel
- Release front tabs for side panel
- VERY gently apply some upward pressure to the top inside edge (See 7. next)
- Use a flat edge (eg: watchmaker screwdriver) to gently ease the front tabs forwards and off the bottom of the retaining lugs.
- Once the tabs are released you should feel the panel start to pull free so gently encourage this up and out.
- Release (Ease Upwards) top of side panel
- Side panel removed
(Waste tube assembly highlighted)
- Waste tube exposed
- Release butterfly clamp
Squeeze “wings” together and ease along tube (towards front of printer)
- Release flexible waste tube
Gently ease the flexible waste tube (red stripe).
(Tip: Using knitting needle tip to push between tubes helps separate and release them) - Route tube through grill and printer body (as shown)
- Route tube through grill and printer body (as shown)
Tip: Remove clear internal connector and thread from outside (grill) inwards leaving the tube clamp and coloured connector outside of printer.
- Re-attach clear internal connector
- Connect original & kit extension tubes together
- Tube placement
- Tube placement
Make sure the tube sits inside the printer and you may want to secure the tube against the mount point shown.
- Route tube at rear
Ensure the tube is routed so it doesn’t fold or pinch when the rear panel is replaced
- Replace side, front and then rear panels
Order of replacement:
- Side
- Rear
- Front
Replace in reverse of process for removal.
- Finished
- Finished
Connect waste tank (as per printed kit instructions) and your kit is installed
Note: Tube clamp is not shown in this image but should be between printer grill and tank
An earlier version of this guide can be found here