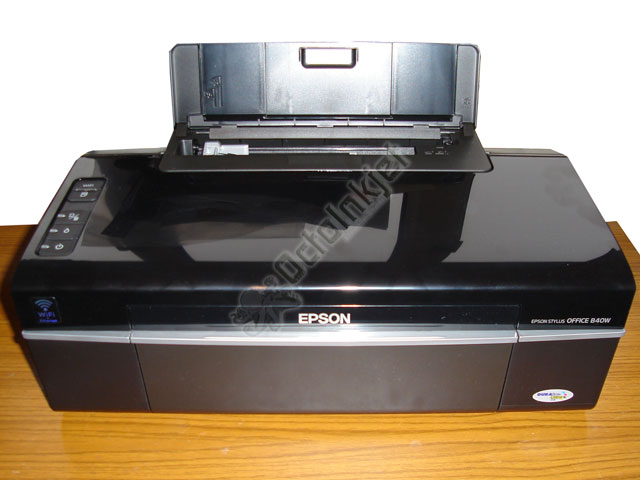
The Epson B40W printerThis guide is equally applicable to the following models:

  • Workforce 40
  • B40W
  • Office T40W
  • T40W
  • NX510 / NX515
  • SX510W / SX515W
  • TX515W

I’ll use the model number “B40W” throughout, for consistency.

The first vital bit of information is that this is a double (2) waste tube printer, so you will need a Duo Waste Kit

Note: Some of the images shown below come from instructions developed for similar printers (eg: workforce 600) so you may notice some minor differences in case layout, sticker location, etc… The general instructions are however accurate.


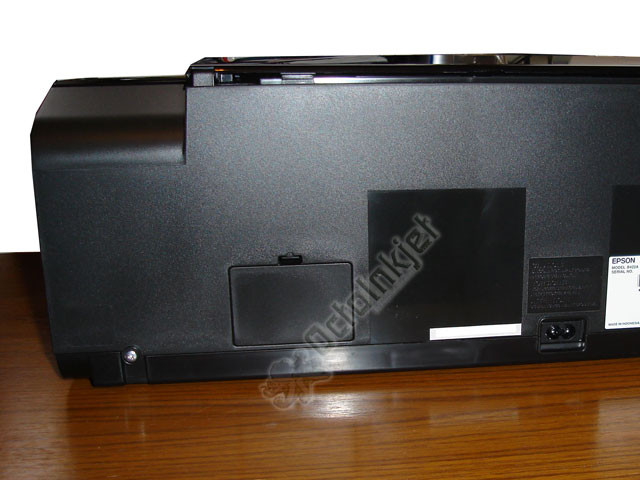
B40W - The access hatch / Trapdoor

The Trapdoor

As with many other printers (eg: R285) you have a little access hatch with a catch at the top.

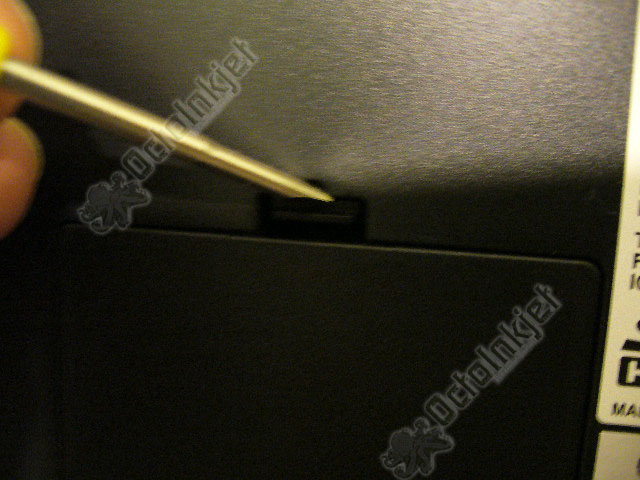
Releasing it is pretty simple and you just need a small screwdriver (or similar) to level the catch down and pull out (see 2nd image left)

B40W - Opening the access hatch
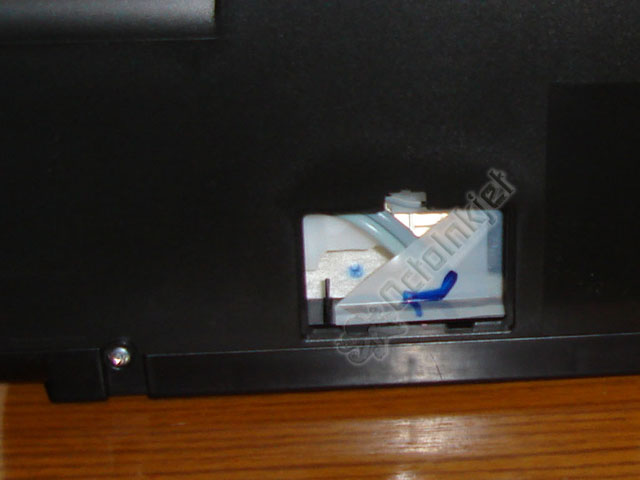
B40W - Inside the hatch opening

Hatch Cover Removed

With the hatch/access cover removed you can now see the two waste tubes inside the printer along with an annoying “splash” cover which is supposedly there to stop ink spattering the door..

My guess is it’s there to annoy people fitting a kit and act as a tell-tale if you want to get your printer fixed under warranty… but let’s not get distracted.

You can remove this thin plastic cover/guard by simply pulling it free but you can try to fight your way around it if you really feel it should stay.

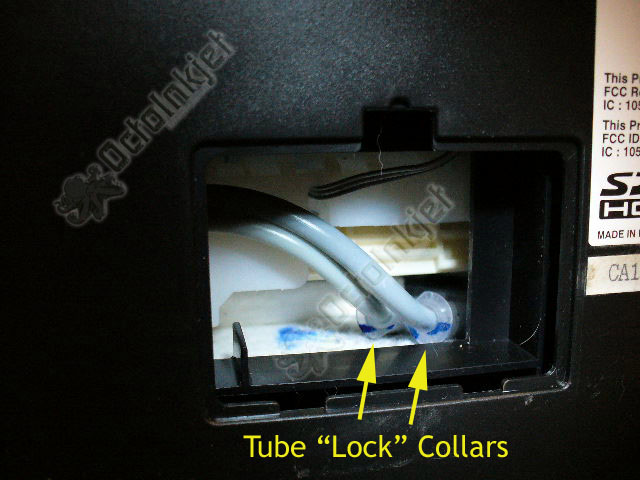
B40W - The tube locks/collars

Tube Locks/Collars

As you can see from the image (left), you should NOT rotate the top of the hatch cover down, because if you do that, you will break off the plastic tabs at the bottom of the hatch cover.

Instead, carefully wedge the hatch cover open using a pencil or another screwdriver to stop the catch re-engaging.

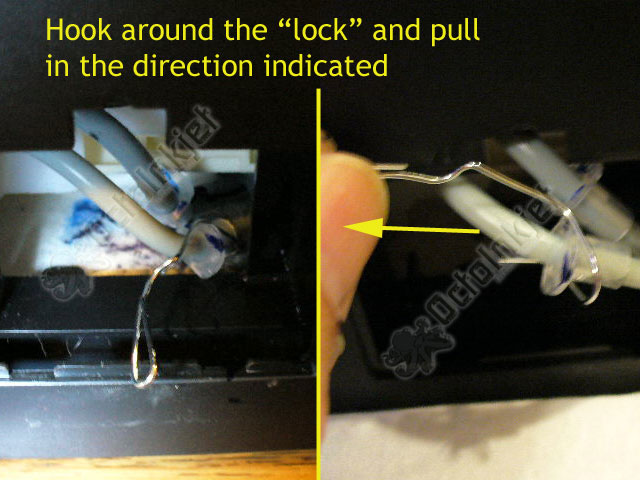
B40W - Hooking out the tube locks/collars

Releasing the Locks/Collars and the tube ends

The plastic collars/locks simply keep the tubing in place but there’s realy nothing special about them.

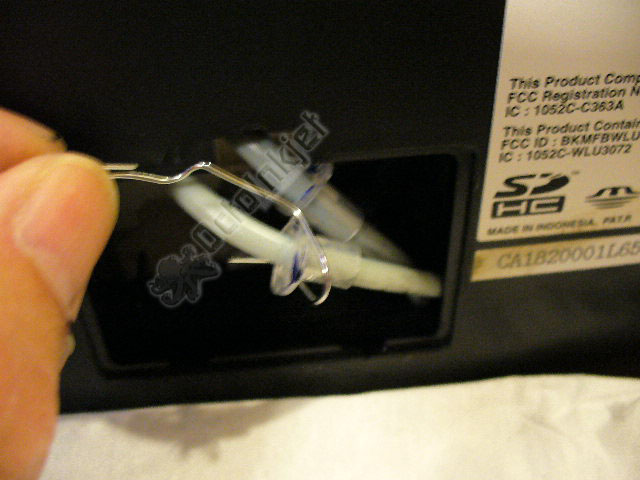
You can either lift the collars up using your fingers or if you find it a bit tricky, you could use something like paper clip to fashion a hook and pull them up (as shown in the images – left)

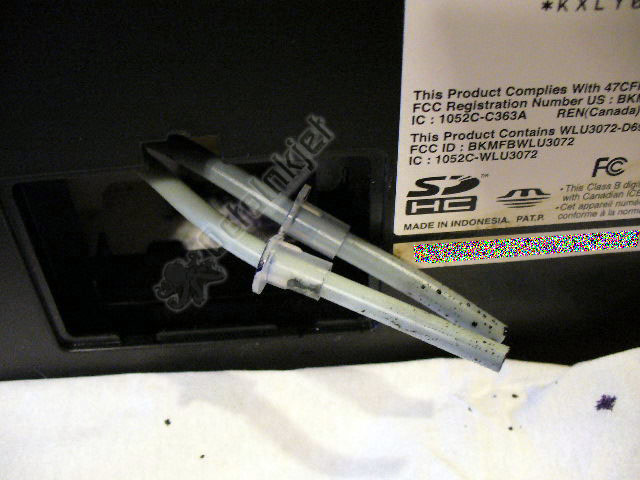
Once the tubes are free you can then install your waste kit using the instructions provided with it.

B40W - Pulling up the collars and releasing the tubing
B40W - Tubes released and ready for waste kit attachment
Position the tube so it can exit without folding or crimping the tube

Modifying the Hatch Cover (Trapdoor)

After you have freed the tube you then follow the standard process of connecting your waste ink kit using the barbed connector and modifying your trapdoor.

I have copied in instructions from the R240 from this point on as the premise is exactly the same for this model.

Obviously the B40W has two waste tubes so you’ll need to change the approach slightly to accomodate the exit of two tubes.


IMPORTANT: Any kinking or folding of the tube will restrict ink flow to the waste tank so make sure the tubes bend gently and are in the correct position.

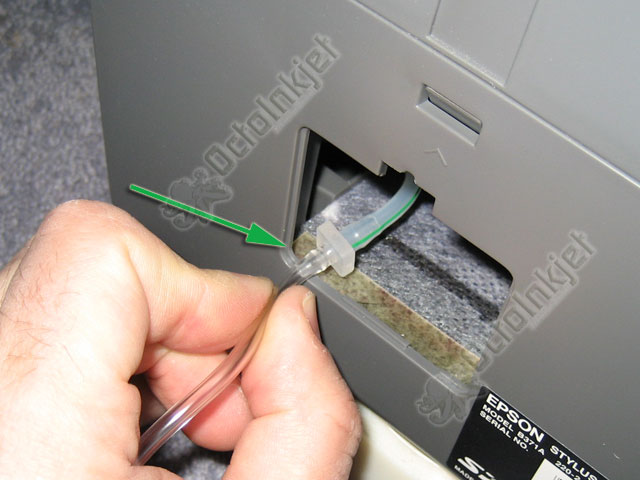
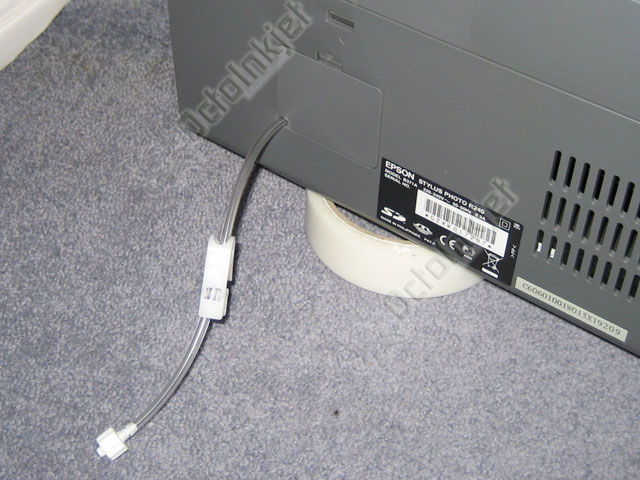
Replace trapdoor The image (left) gives an example of how the modification should look* with this single tube connector inside the printer, and the trapdoor replaced (*on the R240)

Note: On the B40W the tube would exit from the right side of the door as that’s the best location for a notch or hole to be drilled to allow the tubing to exit without too sharp a bend/turn.

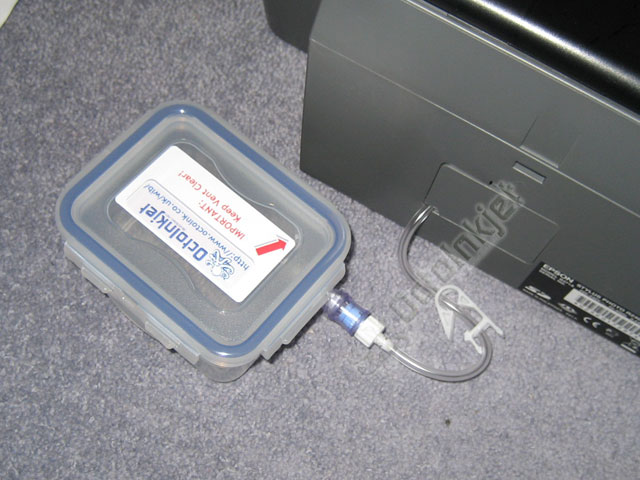
All finished

Finished

Now you just connect your waste tank to the end of the tubing and then test the kit is working (if you haven’t already).

You are now ready to reset and use your printer again

Resetting the waste ink counter

All printers covered by this guide are compatible with the WICReset utility.


Leave a Reply

This site uses Akismet to reduce spam. Learn how your comment data is processed.