Note: This guide also covers a wide range of SX,TX,NX and other Epson printer models including:

SX100
SX200
SX400
SX215
CX9300F / CX9400F
… and many more… 

These models preceded the design change in later models where a removeable and replaceable porous pad assembly was available as a means of replacing the waste pads.

This guide is primarily aimed at OctoInkjet customers who have purchased a Solo+ waste kit although customers with other kits such as the SoloX or Solo++ can still adapt their kits accordingly.


Locate and open the access hatch

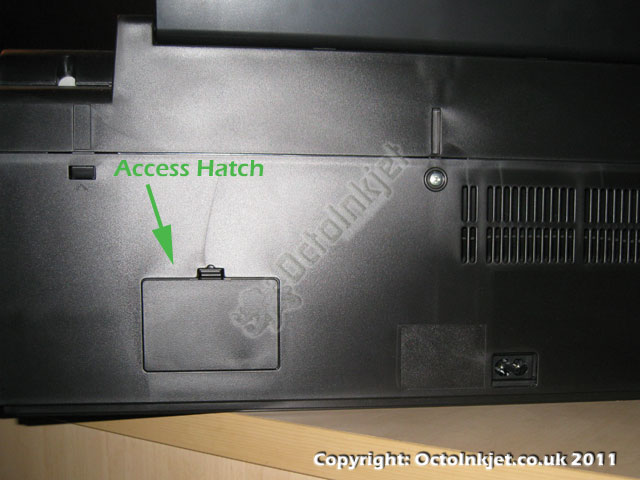
Identify the Access Hatch

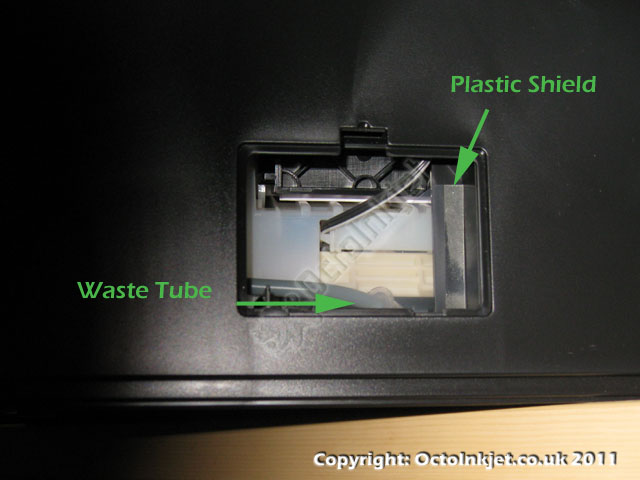
Like many Epson printers before it, the SX215 waste tube can be accessed via an access hatch at the back of the printer (See 1. left).

Inside the SX215 access hatch

Open the Hatch Cover

To release the hatch you just need to release the catch located at the top of the hatch using a thin flat screwdriver or similar to depress the tab.

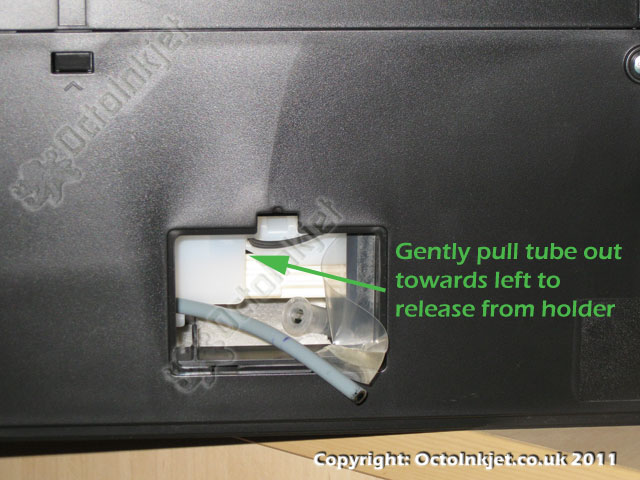
Once the hatch cover has been released and removed you will see the waste tube as indicated in Image #2 (left) and a splash cover that is somewhat redundant and can be removed if you’re not worried about obvious signs of modification.

Release the waste tube

Release the Waste Tube

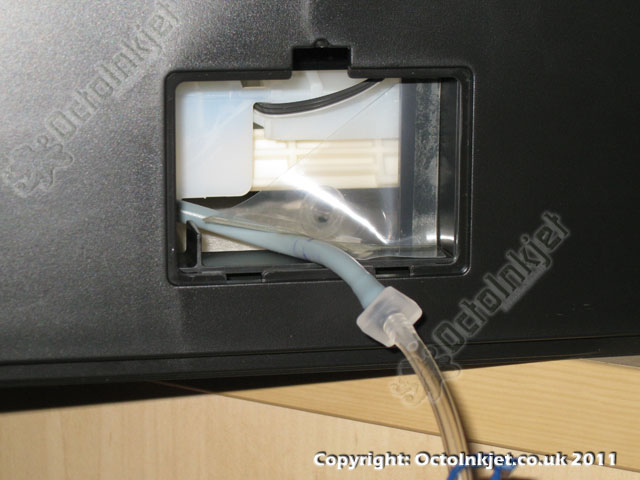
As per image #3 (left), to release the waste tube you gently pull the tube out towards the left* of the printer and this will free it from the clear plastic holder (located to the right of the access hatch).

*left when looking at the back of the printer

DO NOT pull the tube from the left as this will disconnect it from the waste pump and effectively break the printer!

Attach/Connect the tubes together

Connect the Waste Tubes Together

Your Solo+ waste kit will have a tube connector that you simply insert into the printers waste tube as shown (image #4, left)

Modify hatch cover and re-install

Modify and Replace the Hatch Cover

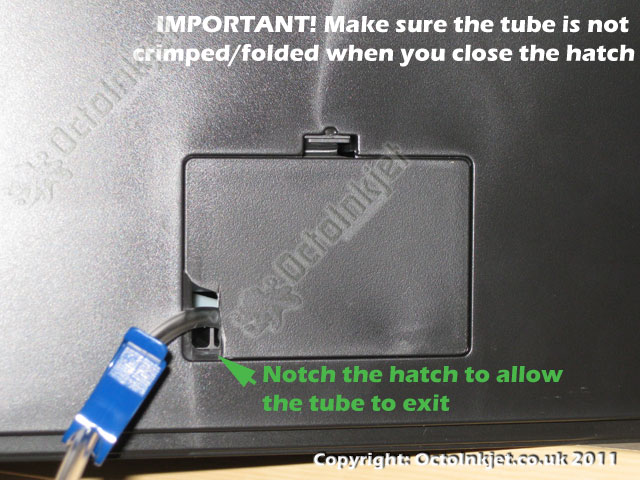
To allow the tube to exit the printer properly you should modify the access hatch allowing the tube to exit but not big enough for the connector to exit as well. This will allow the connector to act as a strain relief that will protect the printers waste tube from being yanked off the pump, if the waste kit is caught or pulled.

Note: As you replace the hatch cover, make sure the tubing does not fold or kink as this would reduce the flow of waste ink and cause problems… You may need to consider cutting the waste tube to protect against this.

Installation complete

Finished

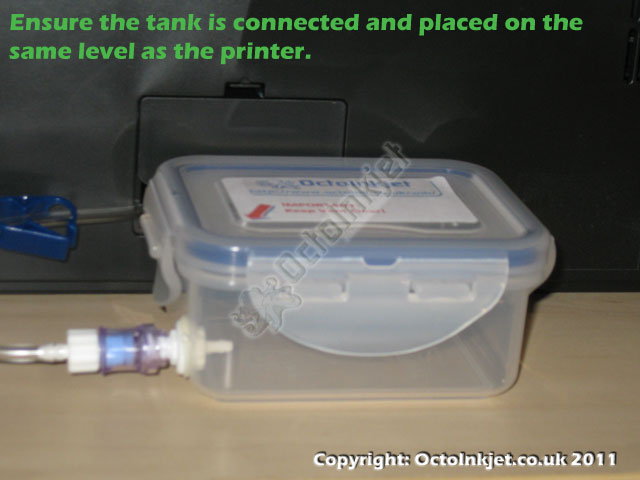
With the waste tube extension installed you simply have to connect your waste tank, check that the tubing is not kinked or folded and you are good to go.

Resetting the Waste Ink Counter

The only option currently available is the WICReset utility.

Remember: The most up to date information on reset utilities will be available via the QuickFind tool.

Leave a Reply

This site uses Akismet to reduce spam. Learn how your comment data is processed.