Another older printer, the RX620 has been re-documented to provide a much improved and clearer guide to installing a Printer Potty on this and related models (eg: RX500, RX510)
This printer uses the Solo+ waste ink kit.
Installation Process
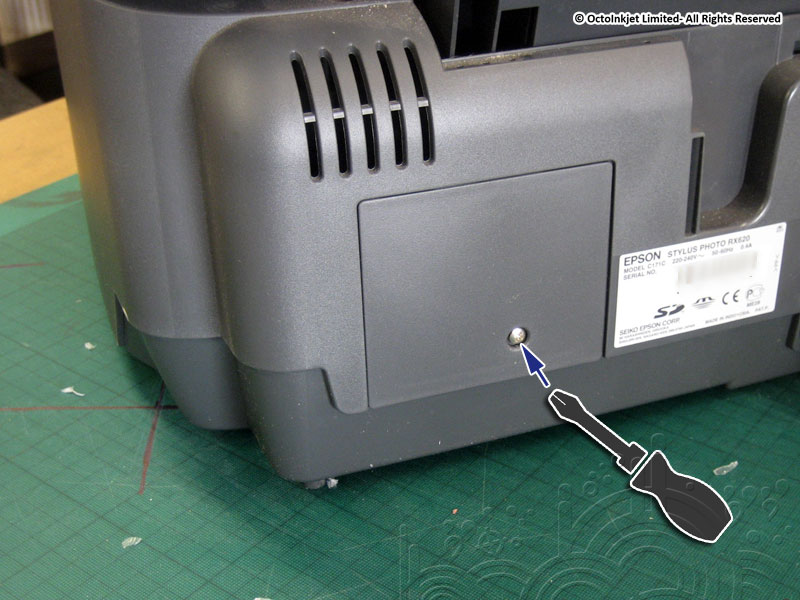
- Remove screw from access hatch
- Waste tube path illustrated

- Use forceps/tweezers to release the waste tube
-
- Waste tube released
-
- Detach clear connect from kit tube and connect to waste tube
-
- Drill or notch the access hatch to allow the kit tube to enter the printer
-
- Feed kit tube through drilled hole and reattach to connector to complete join
-
- Replace access hatch
-
- Installation complete #1
-
- Tank position?
-